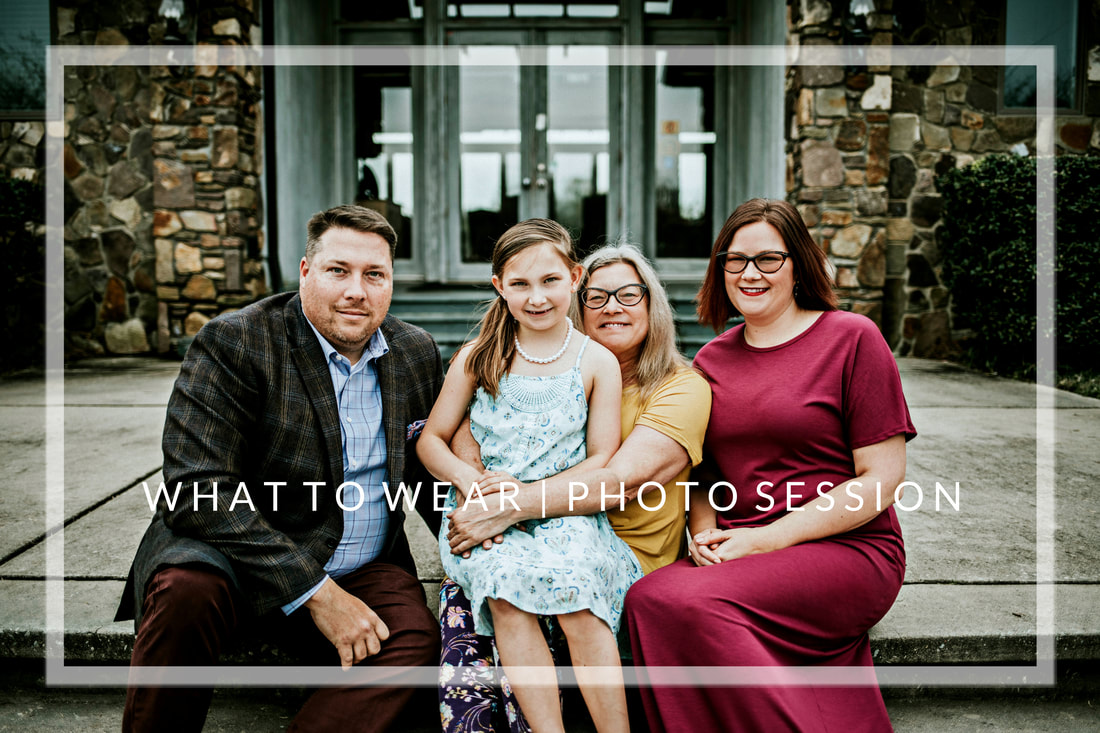
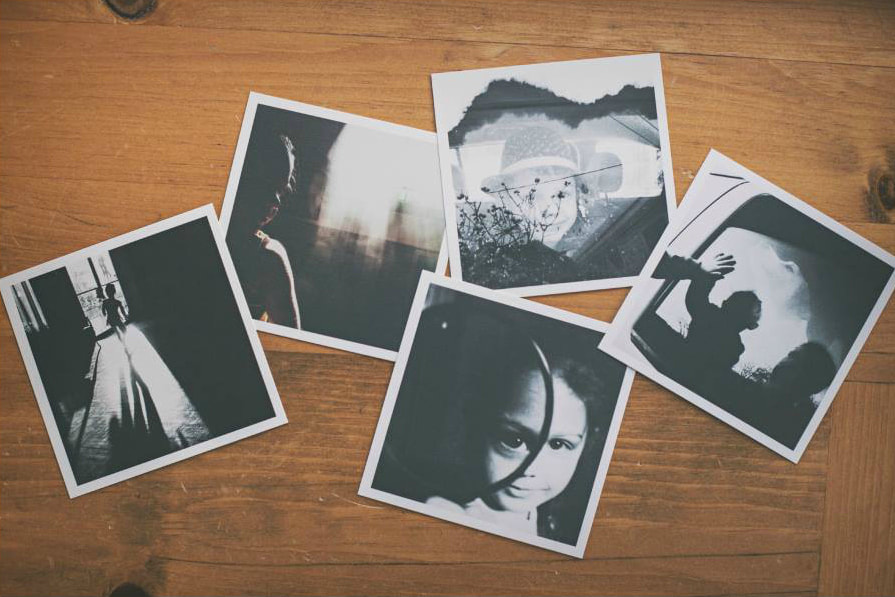
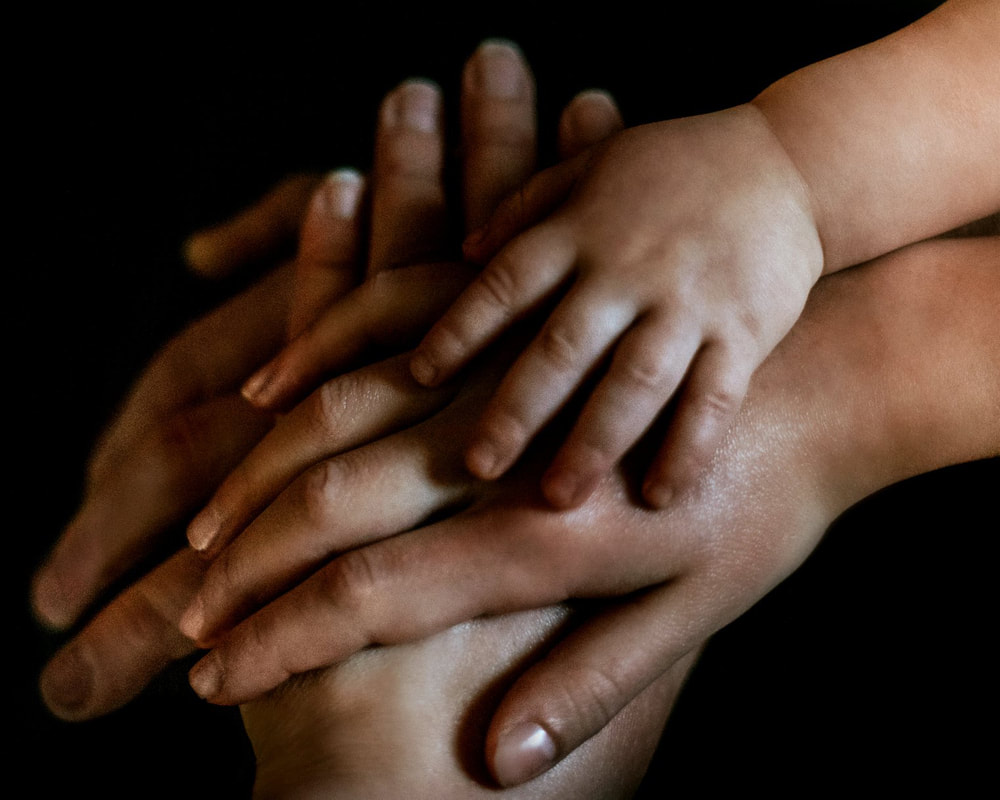
 Right up there with "where should we have our session", (btw, HERE is a list of location ideas) one of the most common questions clients have regarding their photos is, "what should we wear?" As I mention in my FAQ's The most important factor in choosing your wardrobe is that you are comfortable and feel good. If you feel awkward, it will show in the images. Personally, I am a big fan of neutrals (white, cream, nude, peach, grey, denim). To me, these read as "classic" as opposed to boring. Mix in a pop of color or two, and you have yourself a color palette. I recommend either reds, light to medium blues or gold/mustard tones. I think layered solids are the way to go. Layers can add interesting texture and dimension to the image. Picture a rural setting with a pretty floral print with layers on top, maybe a solid cardigan and a leather jacket. Removing a layer or two during a session is a great way to change up the look without having to change clothing or lose any time. PLEASE avoid neon colors at all cost! They cast color onto the skin and do not photograph well. Also, gone are the days of an entire family sporting all white tops with all khakis or denim bottoms. Of course, there are still exceptions where a solid neutral palette can be done well. For example, in this recent summer time image . . . 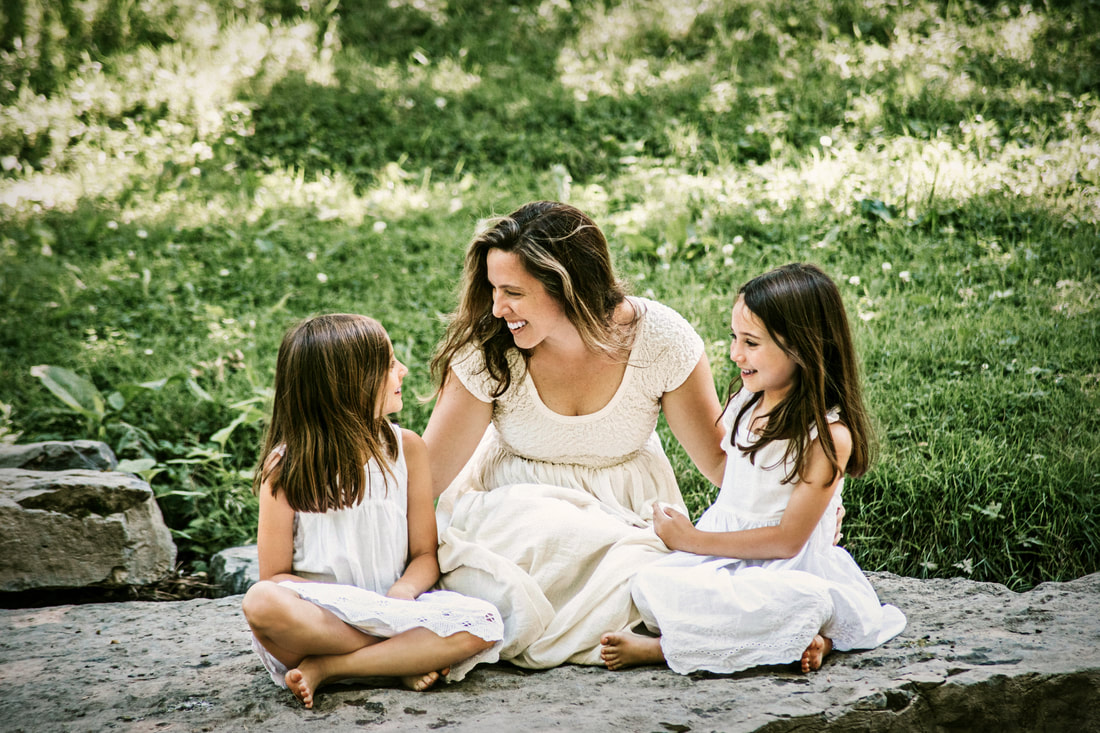 Here, the palette was literally all white and cream. And it just works in such a lovely way. As a rule, however, do NOT attempt to perfectly match each other. Rather aim to coordinate each subjects outfit by tying in 3-4 complementary colors. You will also notice how nature itself, adds to a color palette. I also love accessories like scarves, layered necklaces, stacked bracelets, etc. Once you have made your selections, or as a way of narrowing down choices, I love to lay all the outfits out together on a bed or sofa. This allows you to get a better feel for coordination. I have been photographing families for over ten years. Below you will find just a few examples of clients who pulled together cohesive and complimentary family outfit choices. Some are on the warm side, some cooler tones, some strictly neutral and some full of fun colors. I wanted to show you a variety of palettes and how they all can work. A lot may depend on the time of year your session is scheduled as well, but I hope these examples serve as an inspiration for your own family. 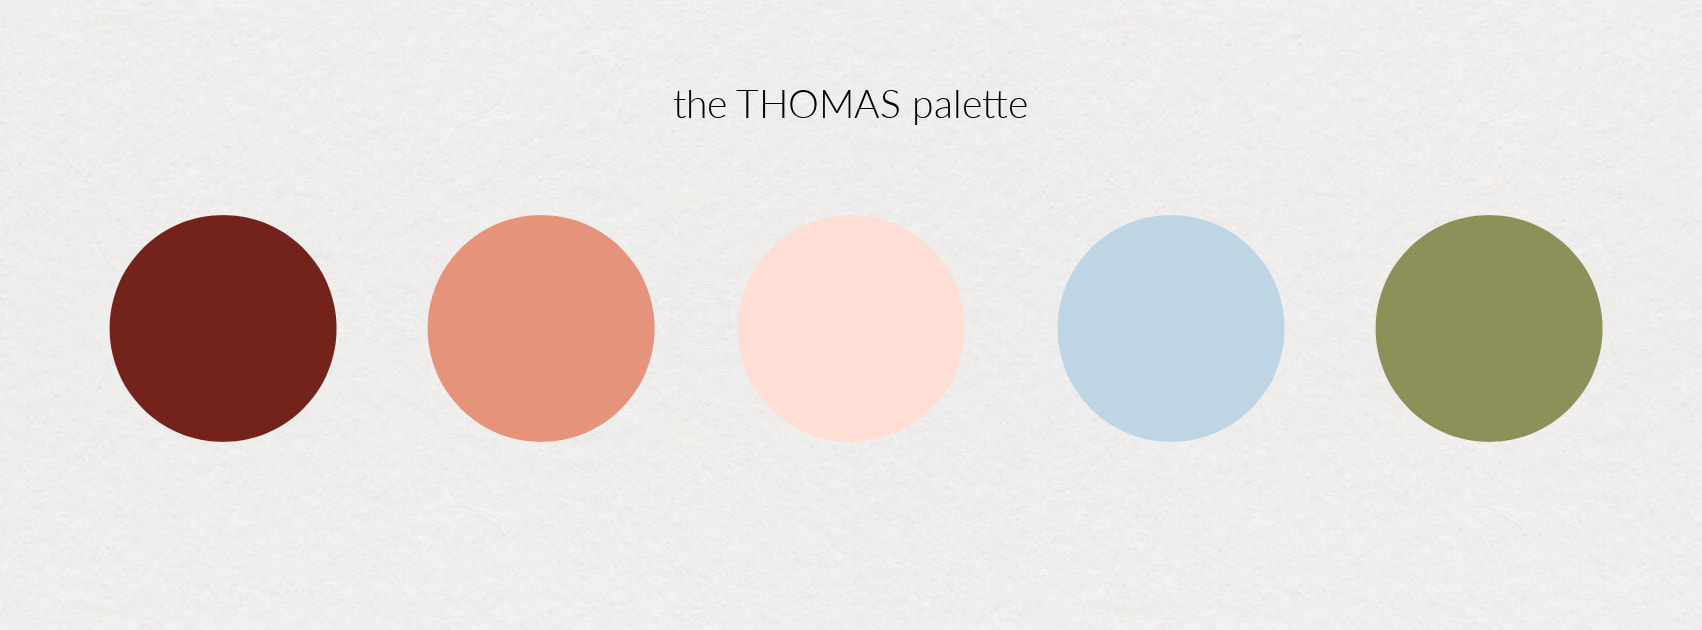 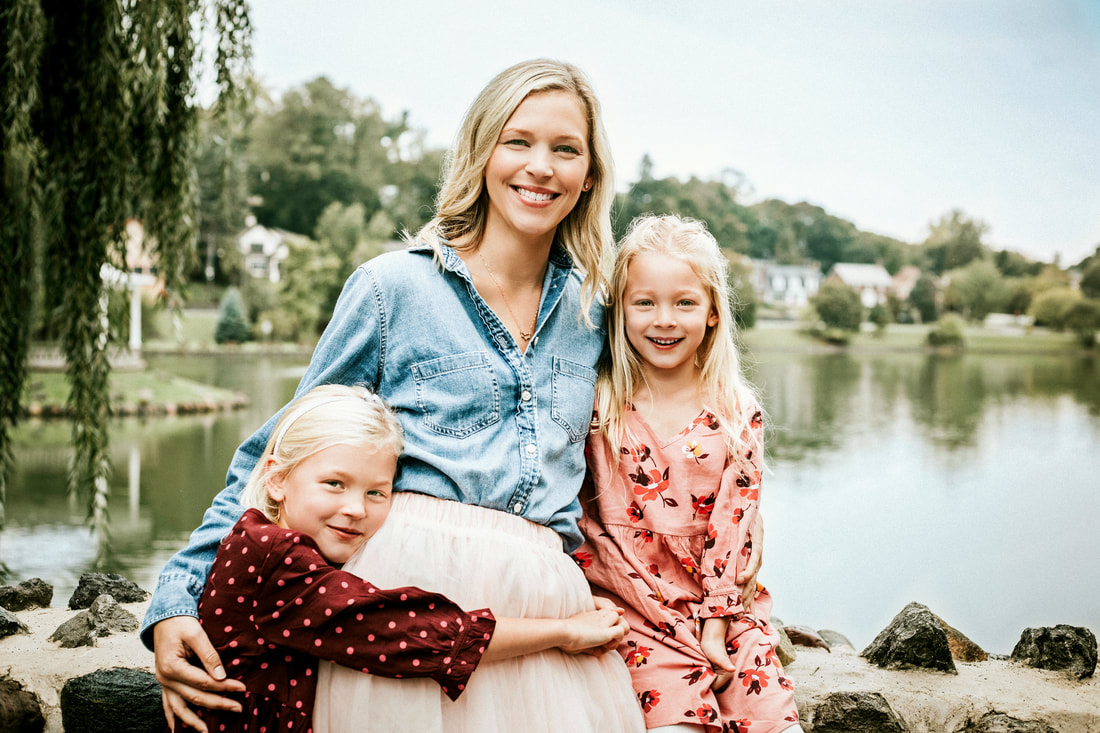 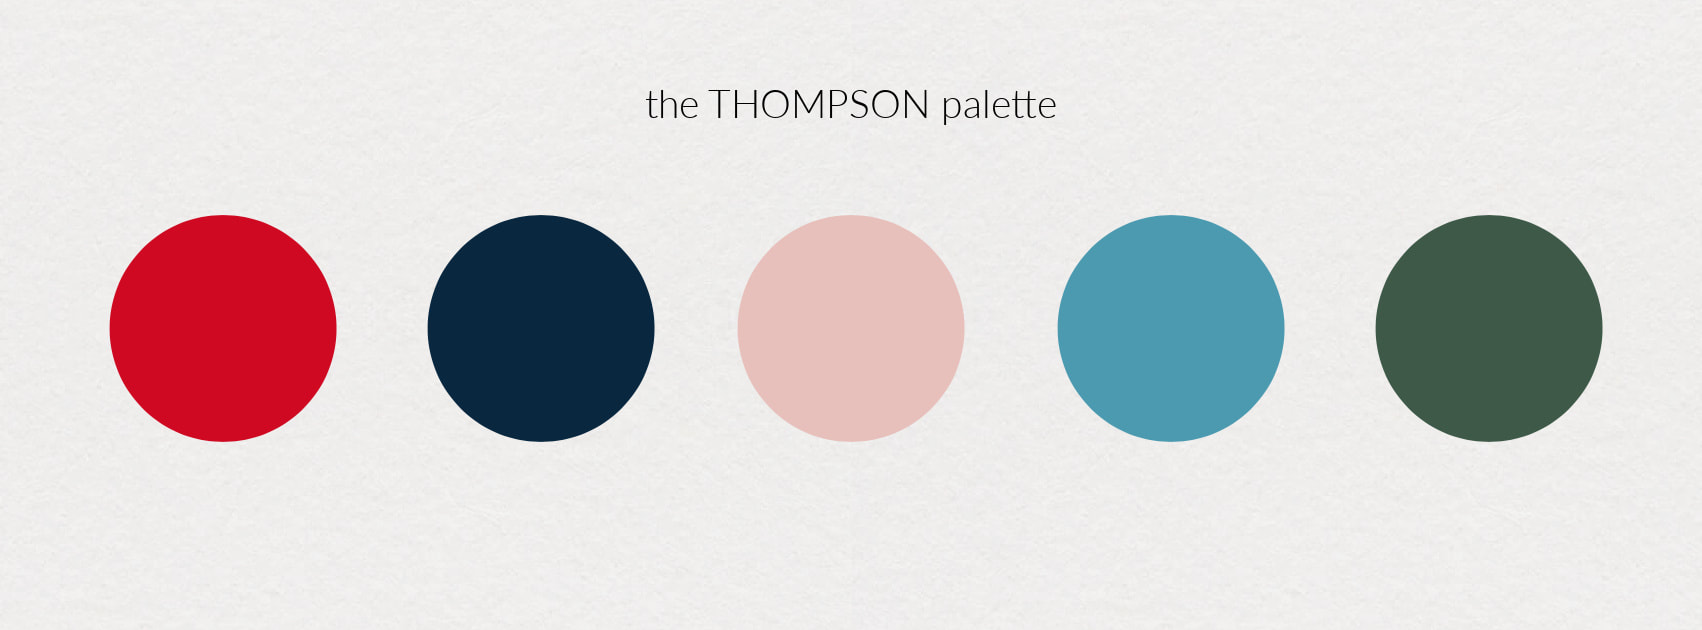 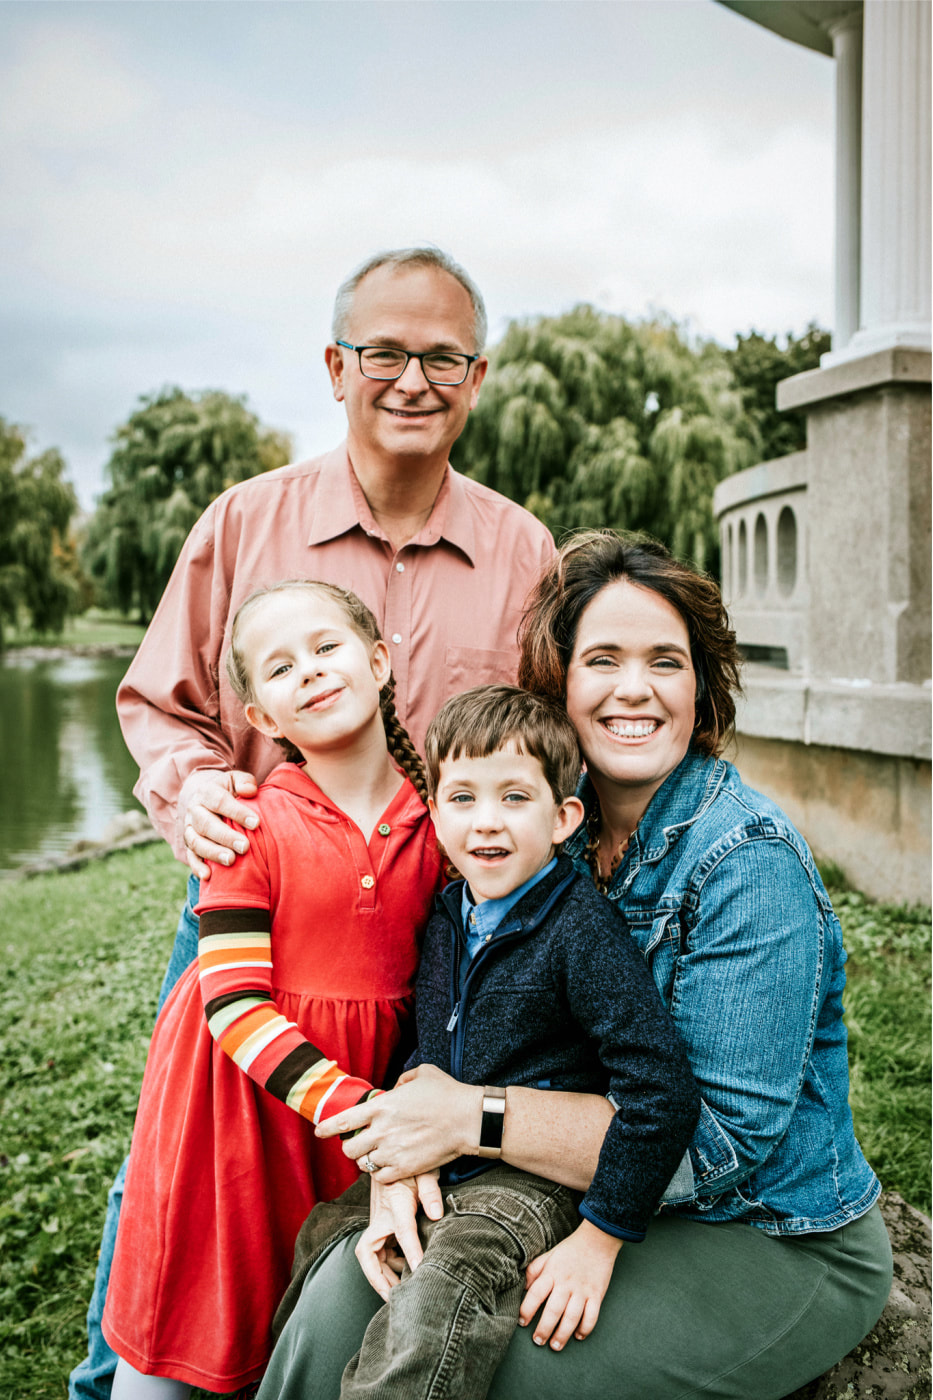 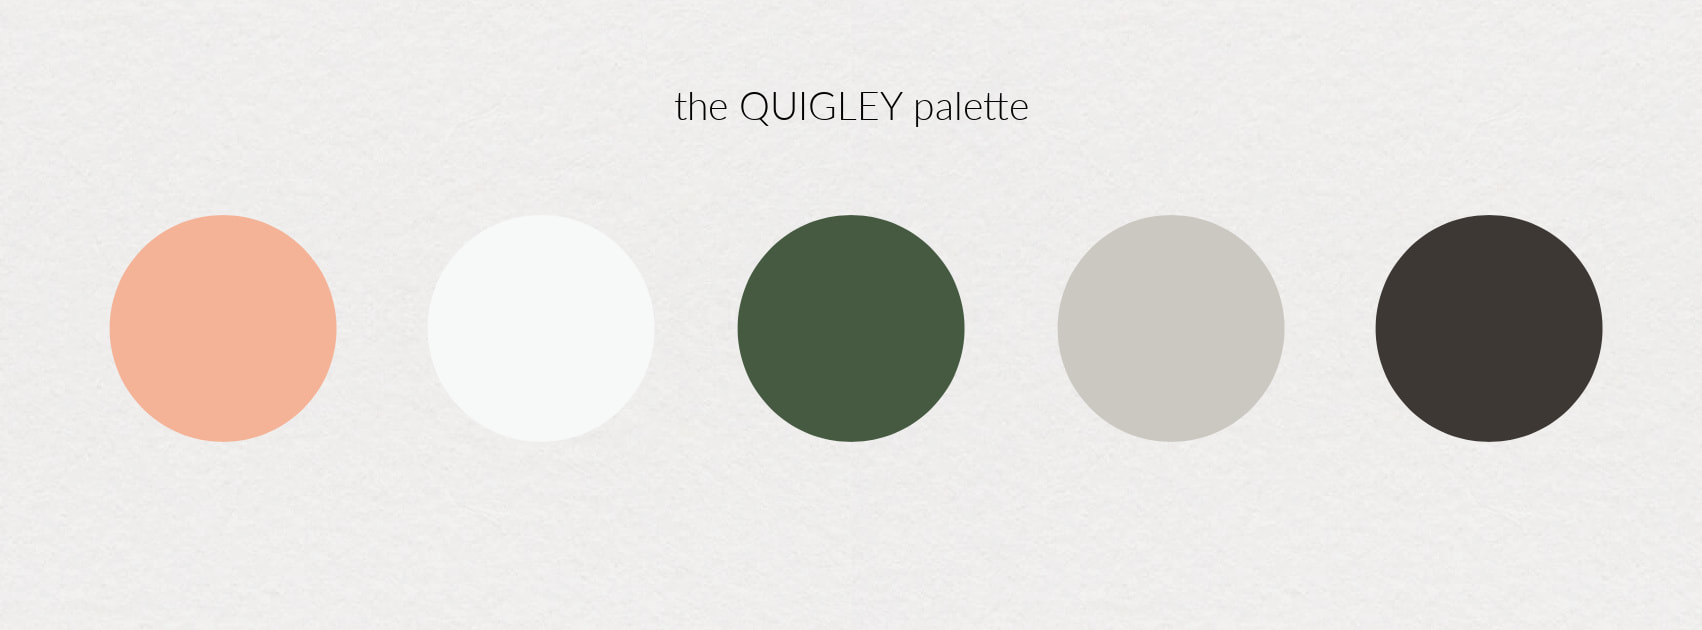 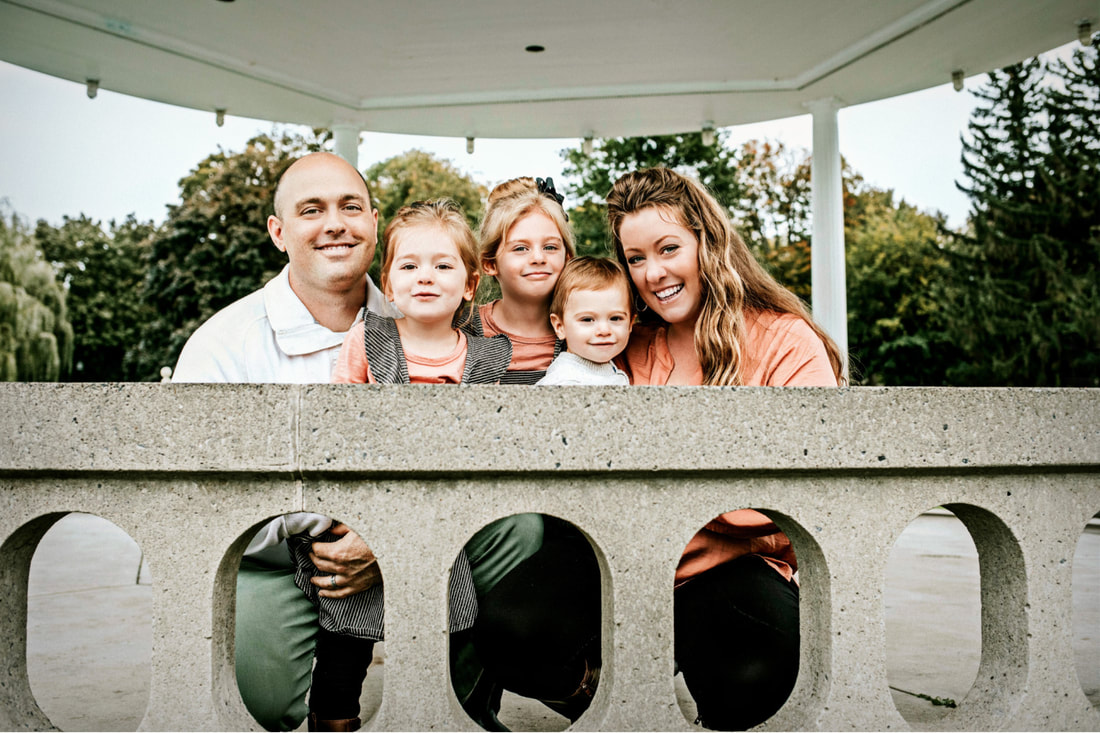 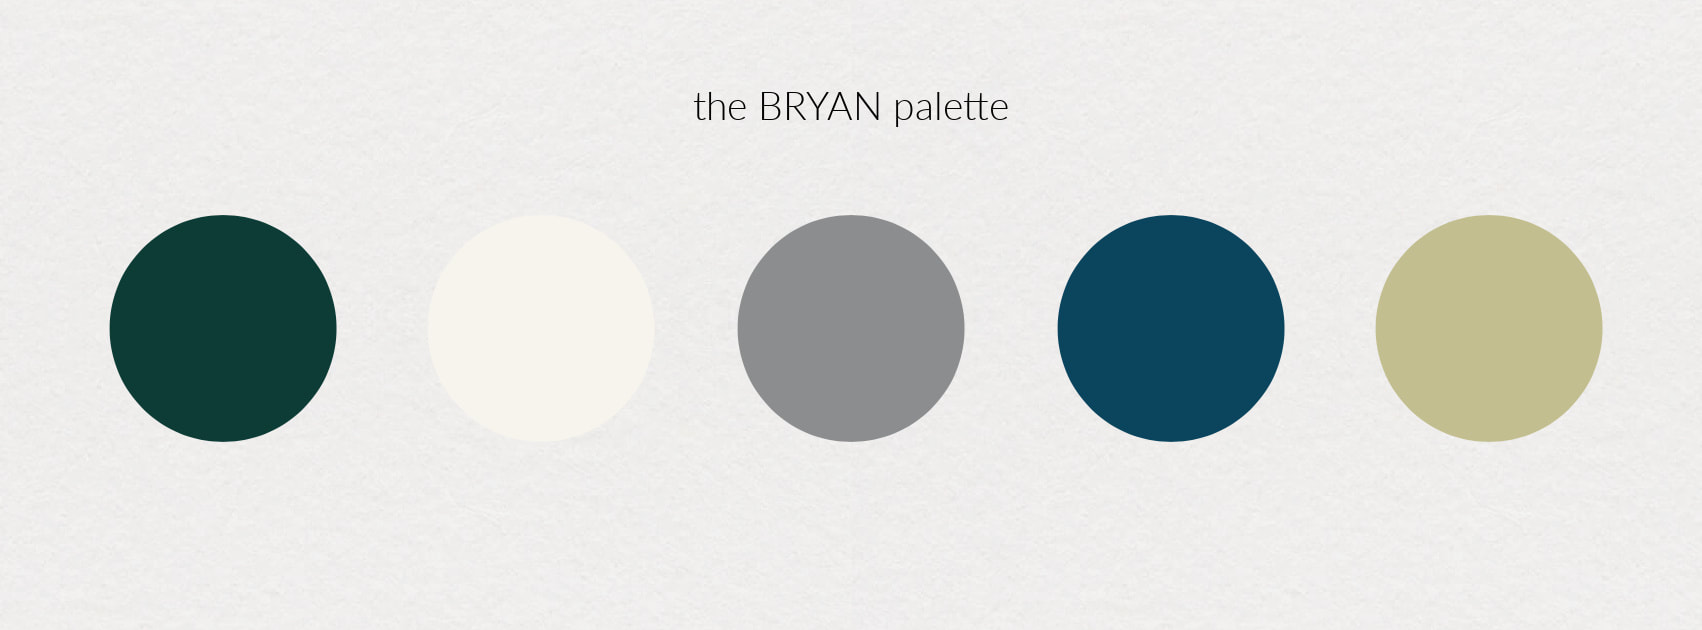 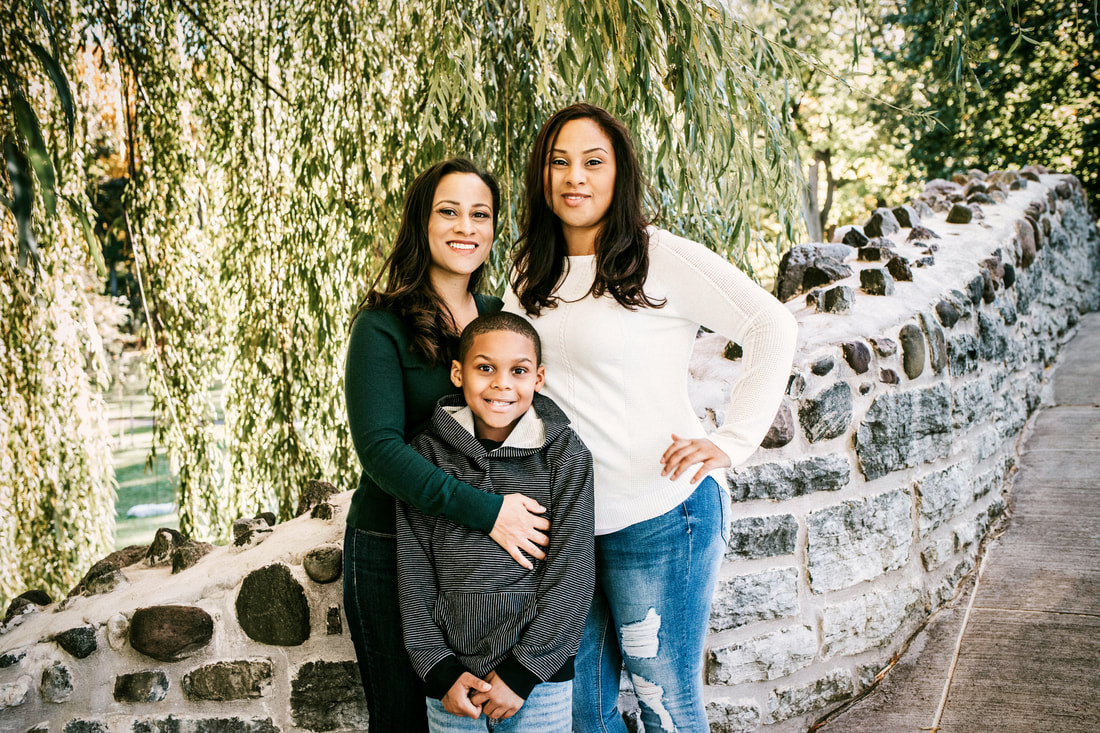 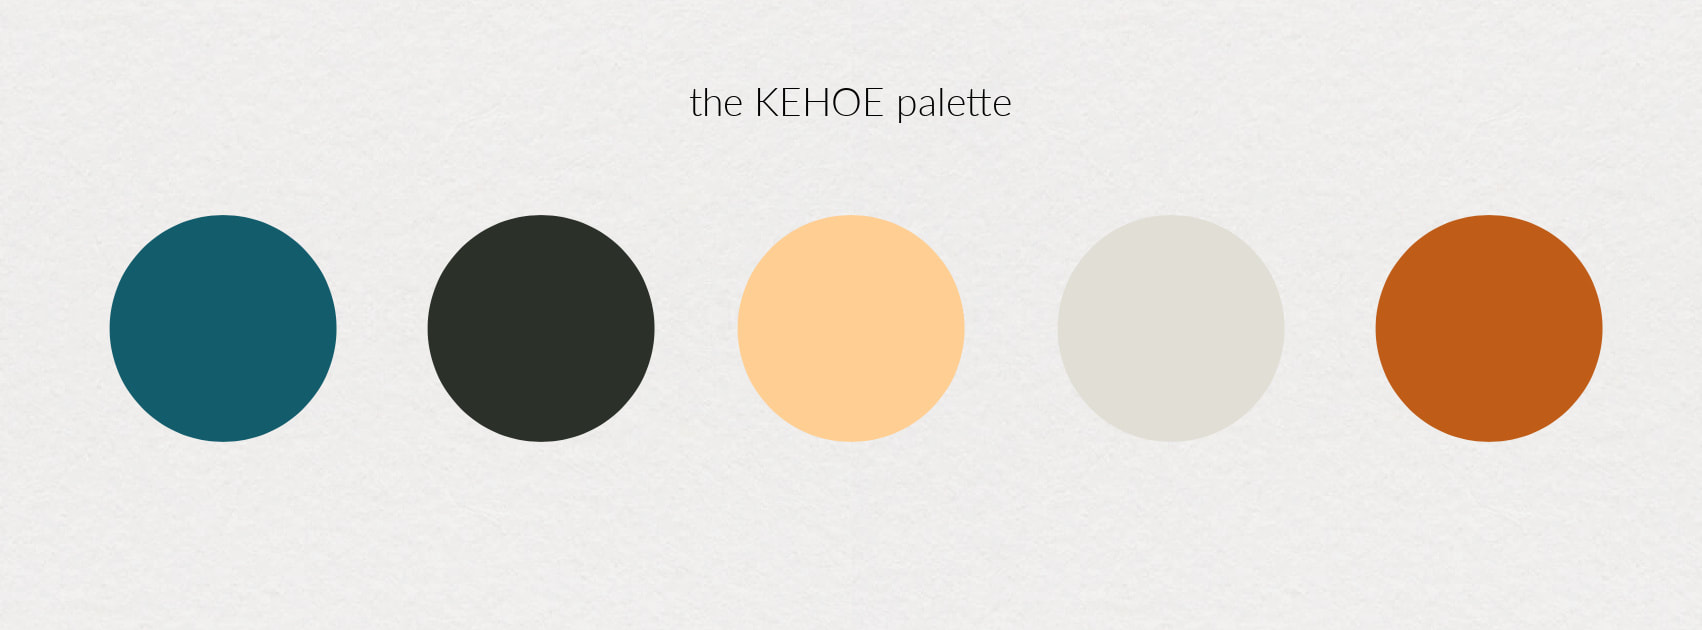 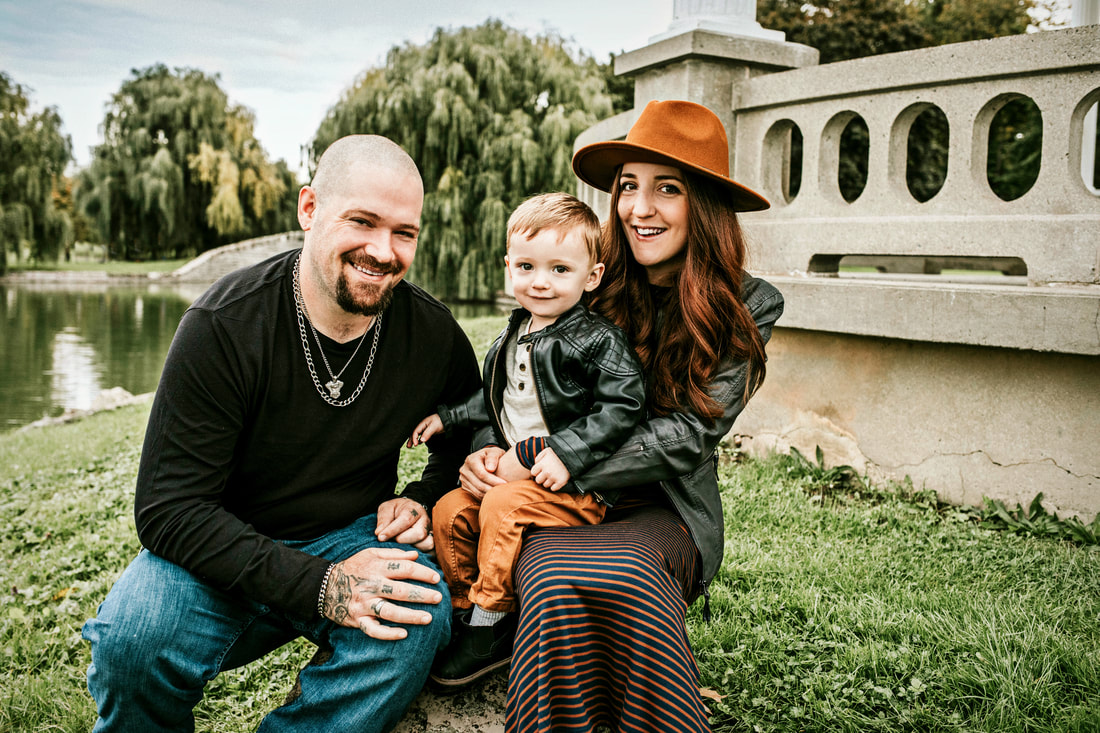 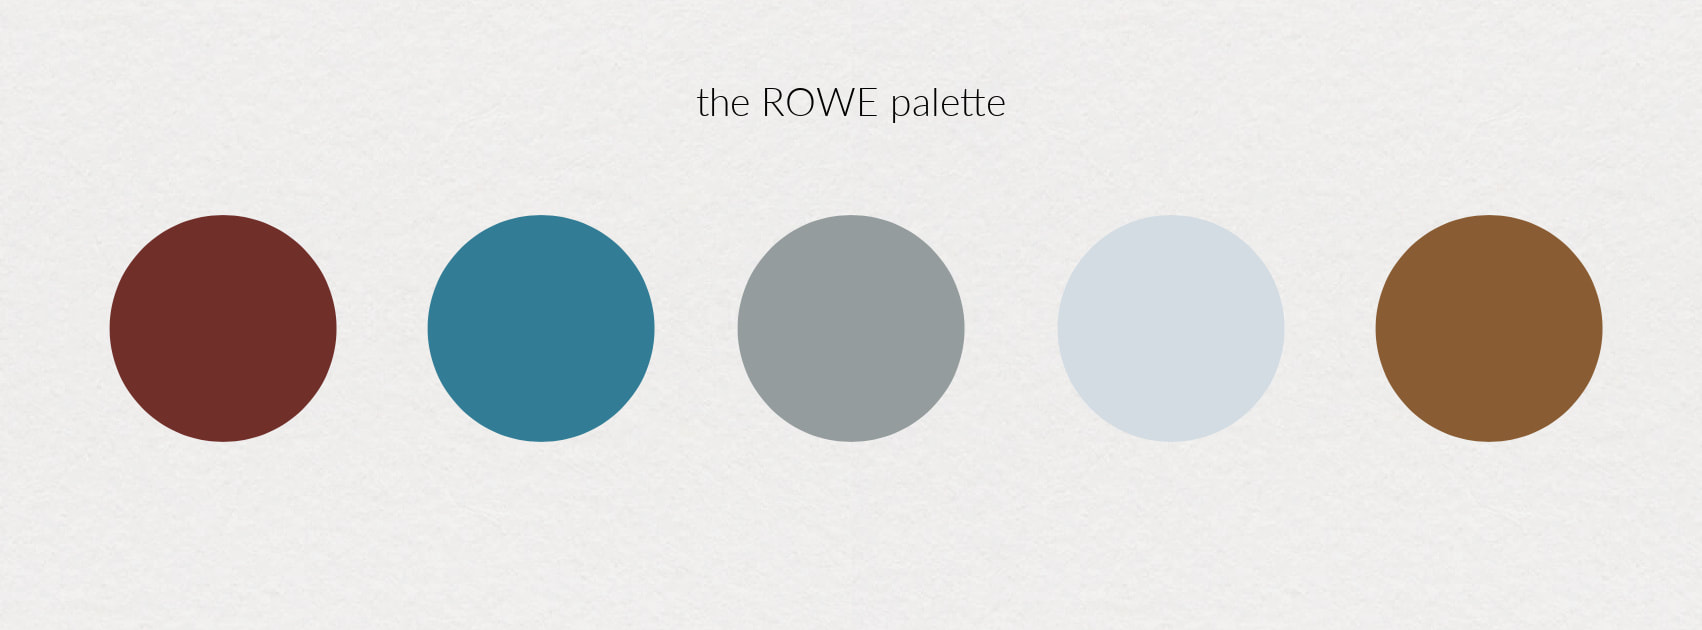 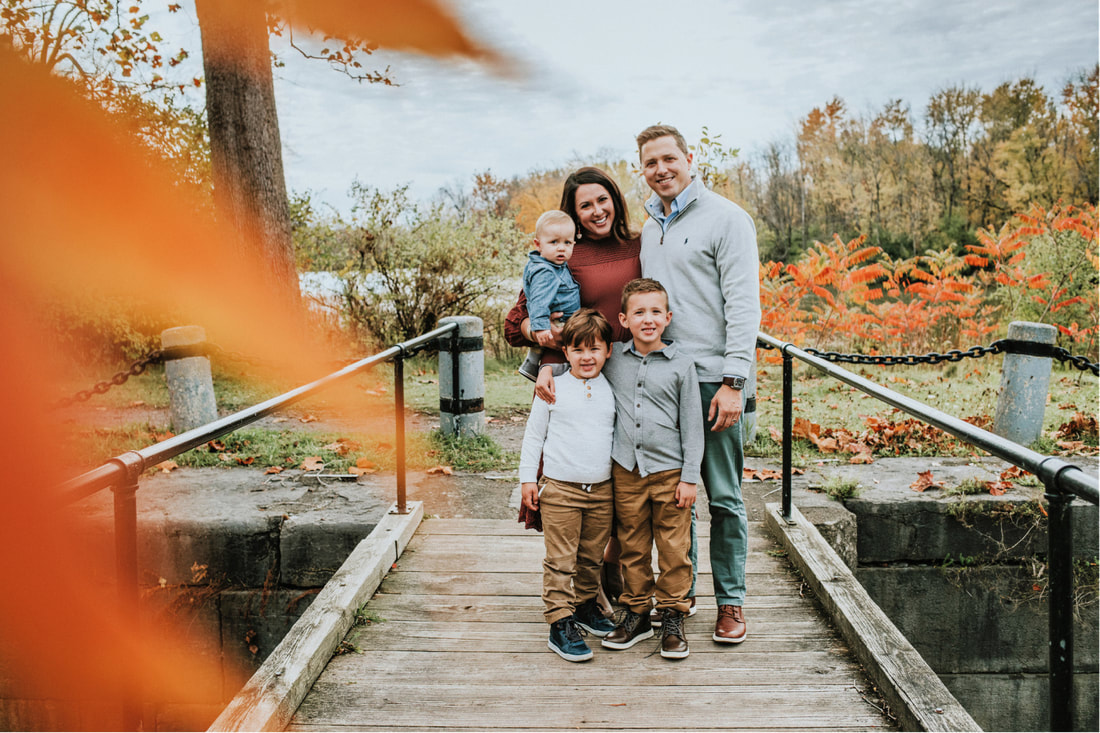 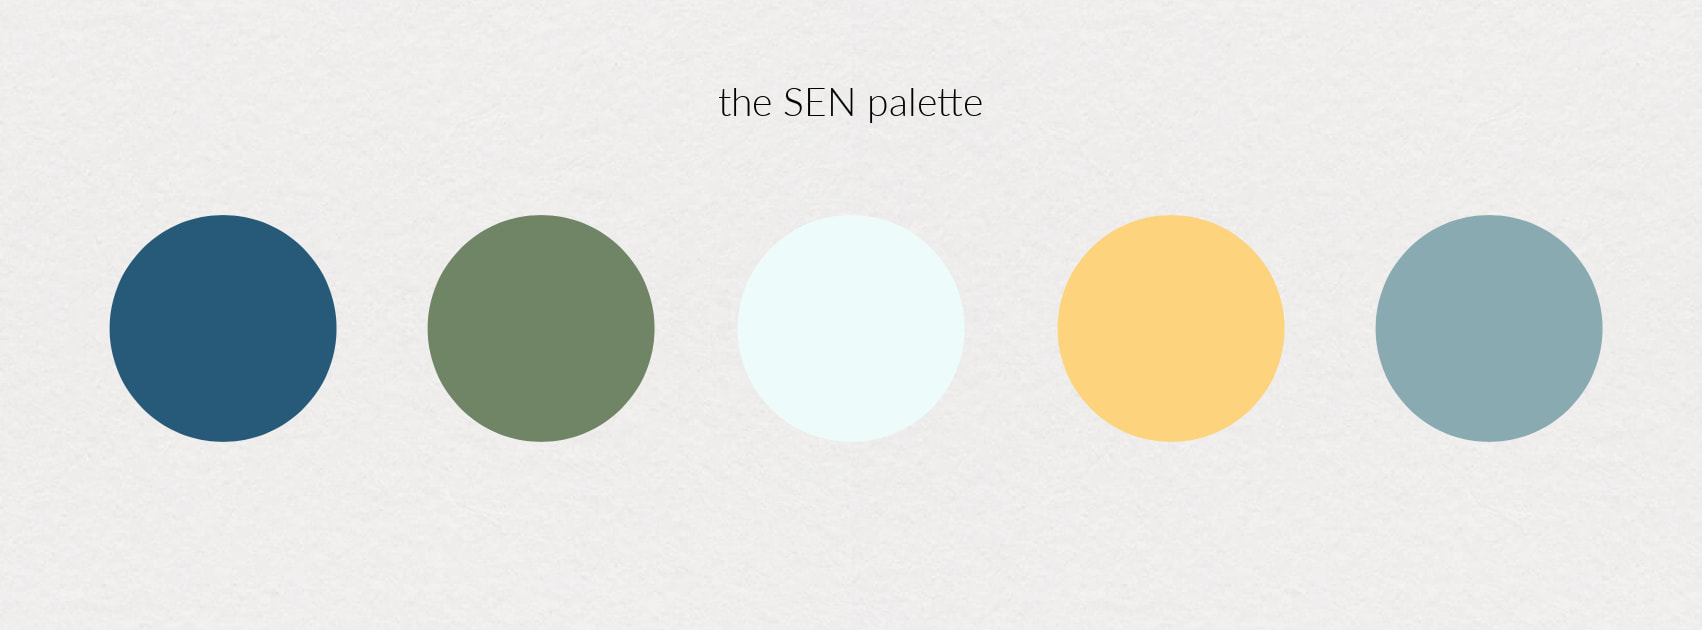 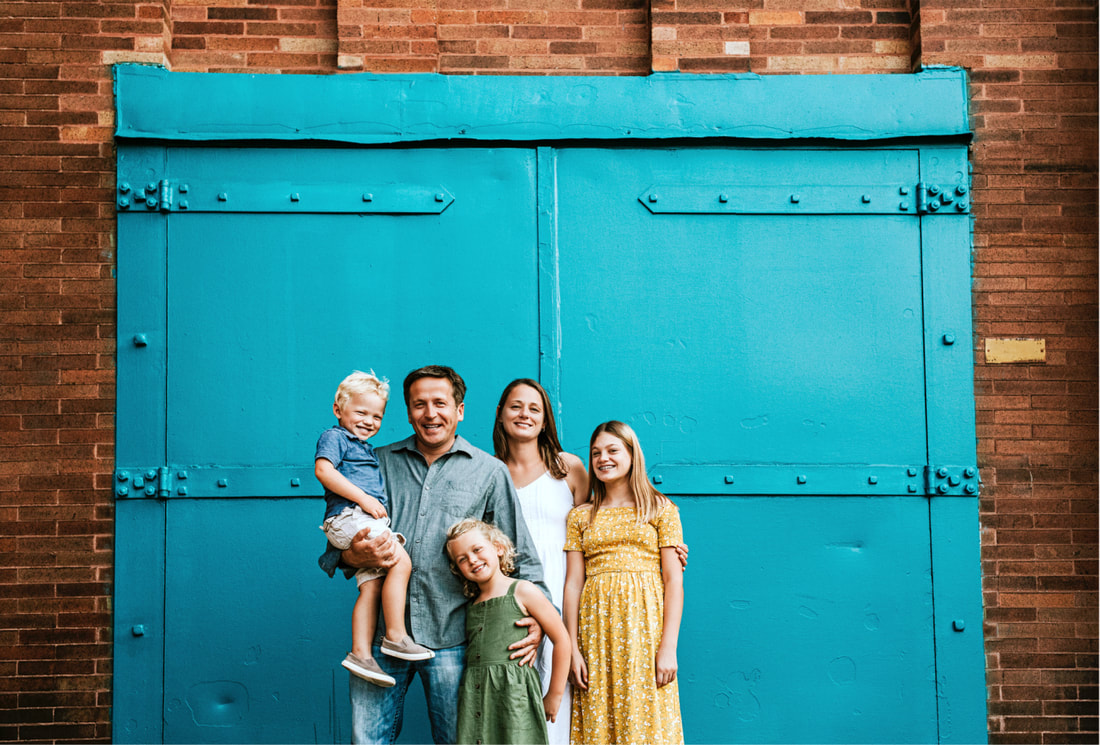 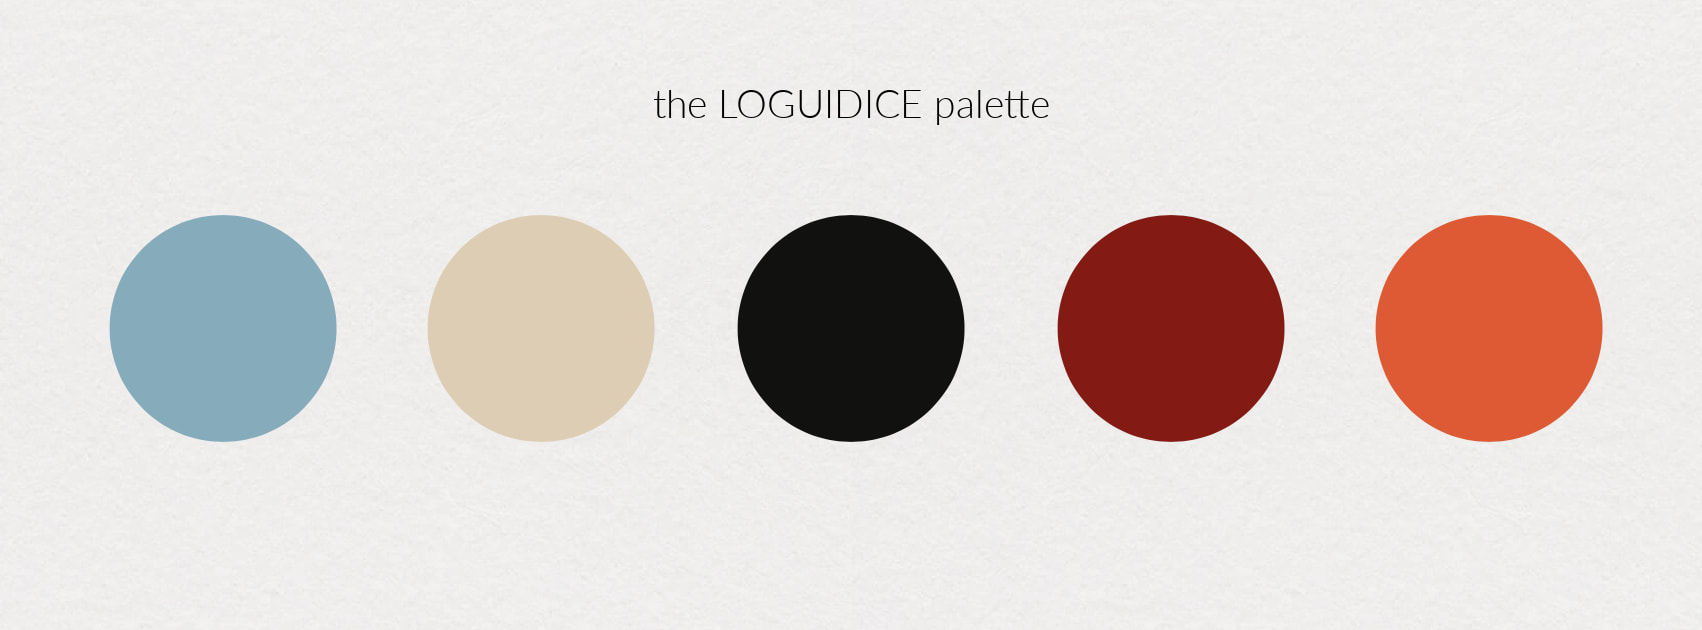 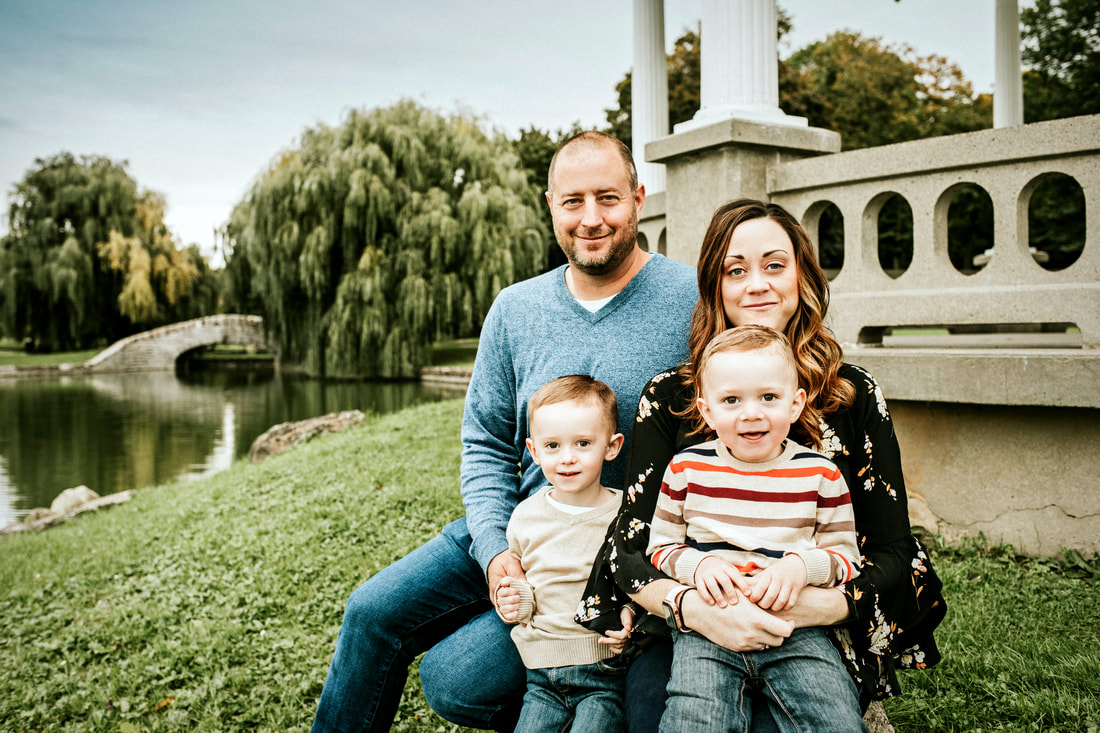 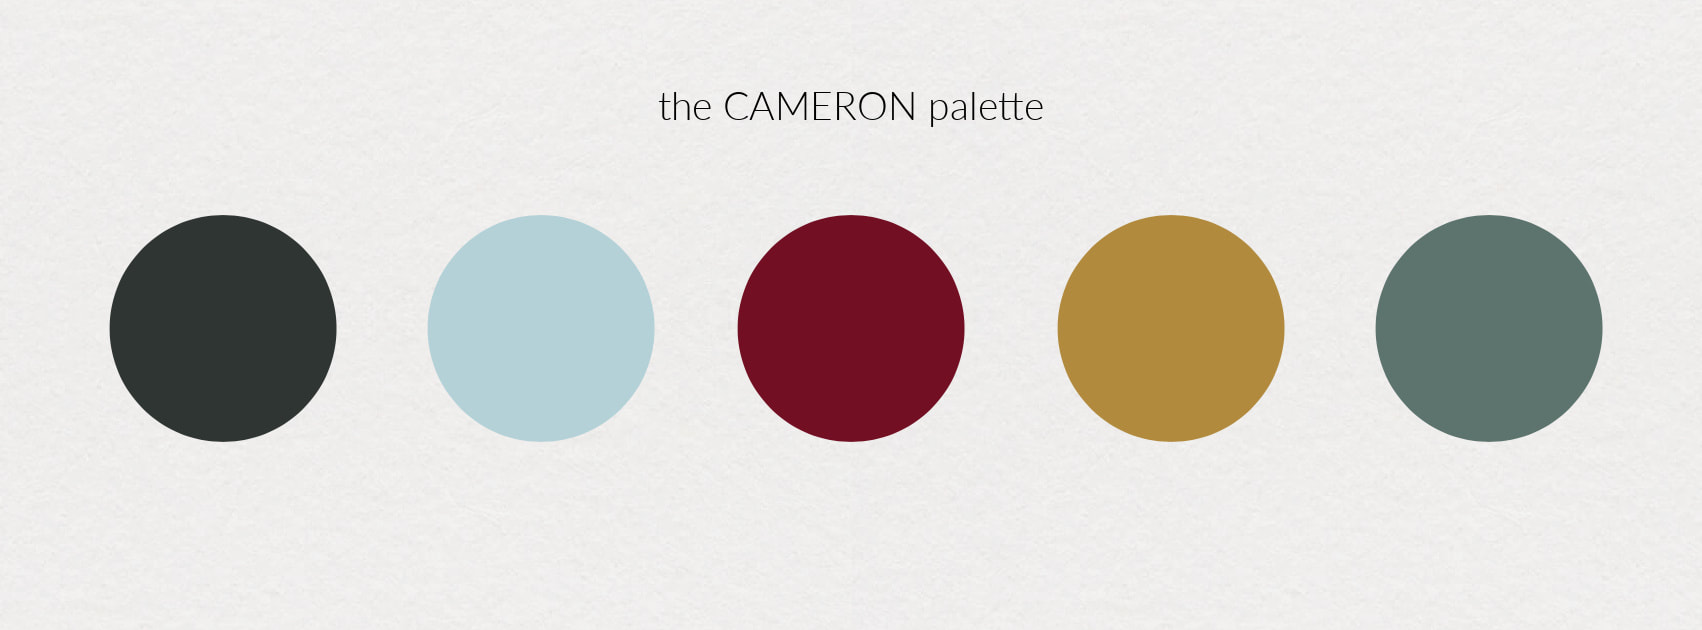  To book your own family session, contact me HERE. To see my family session pricing, click HERE. To view my family gallery, click HERE.
0 Comments
Copyright vs.Print Release |


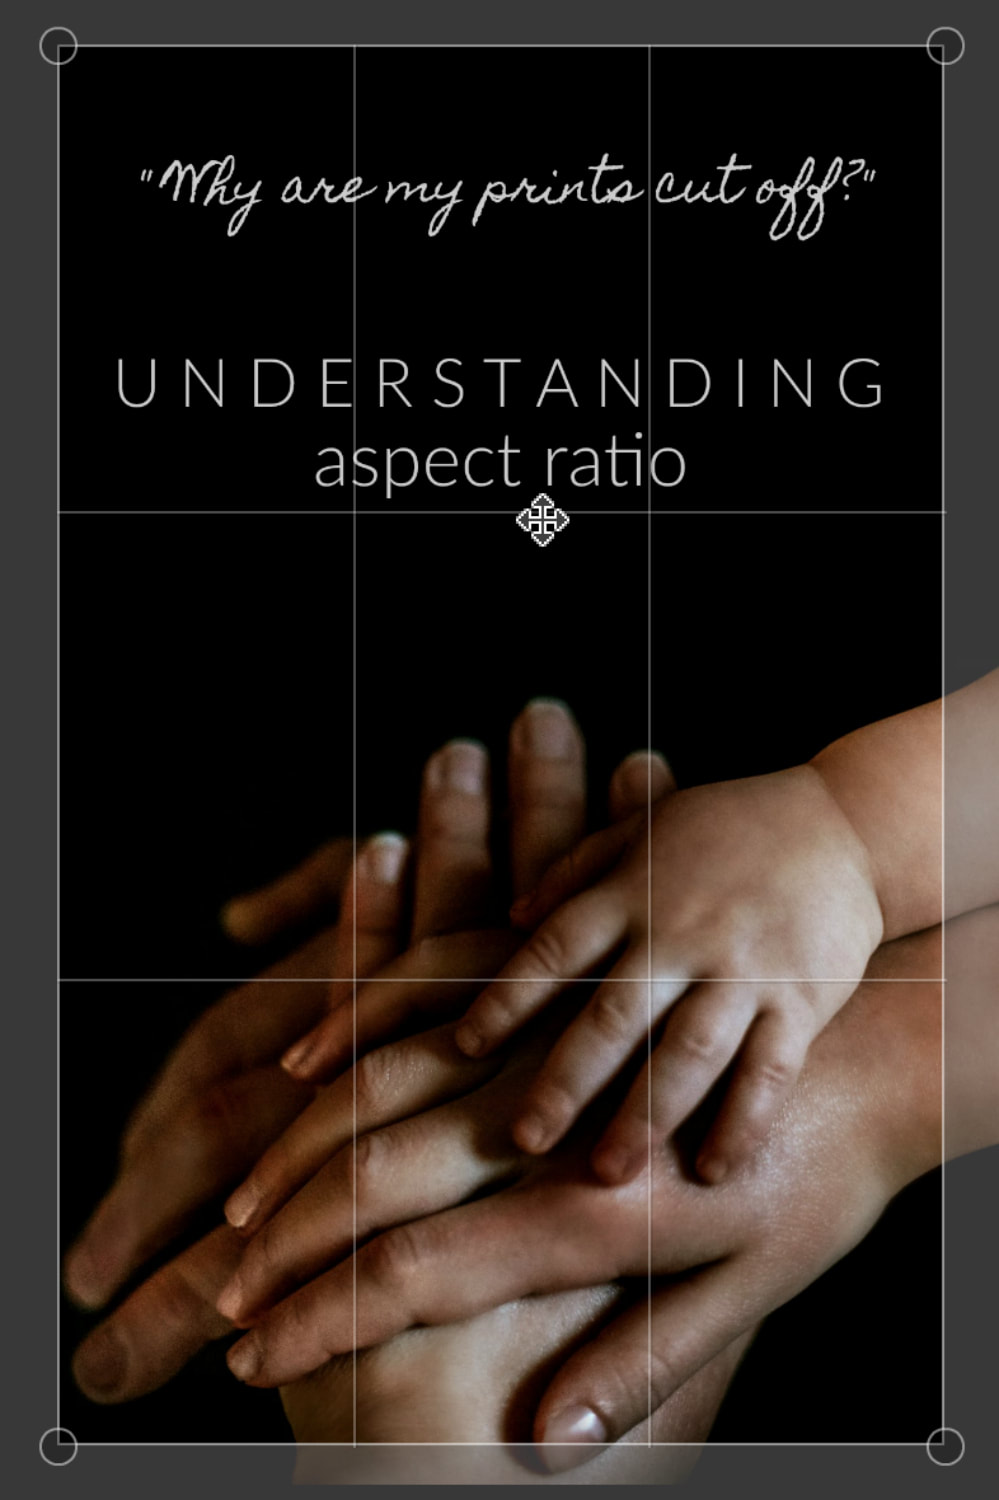
| Original File 3:2 A.R. 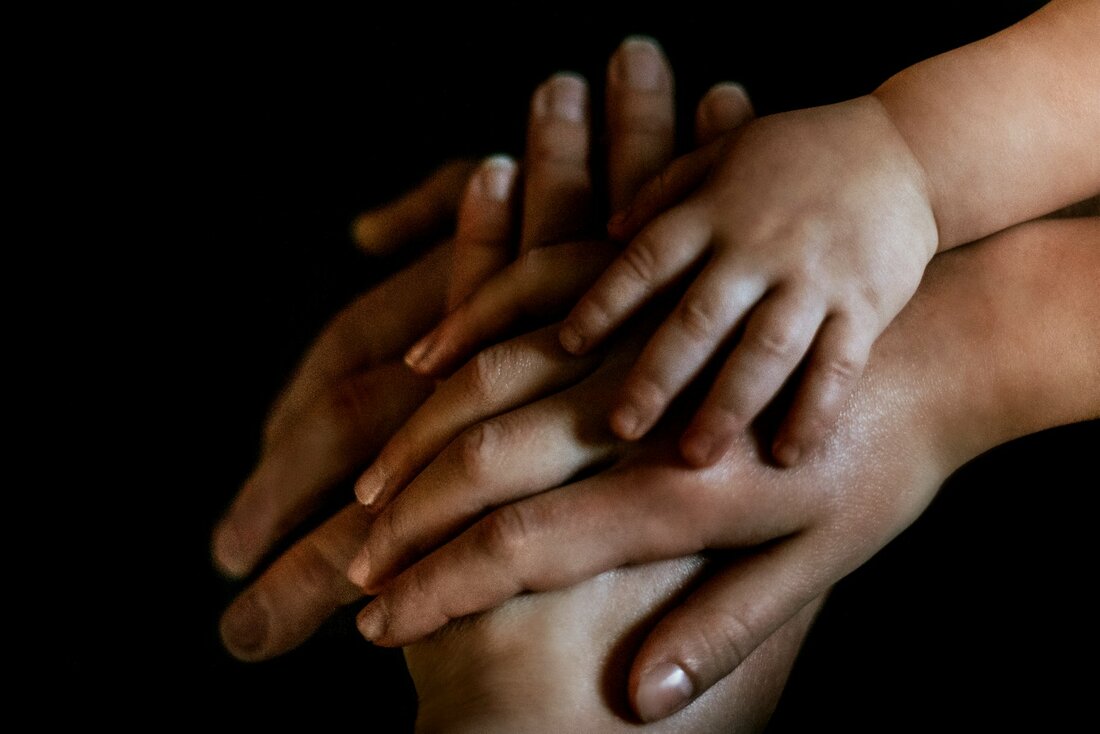 | Cropped to 8x10 Print 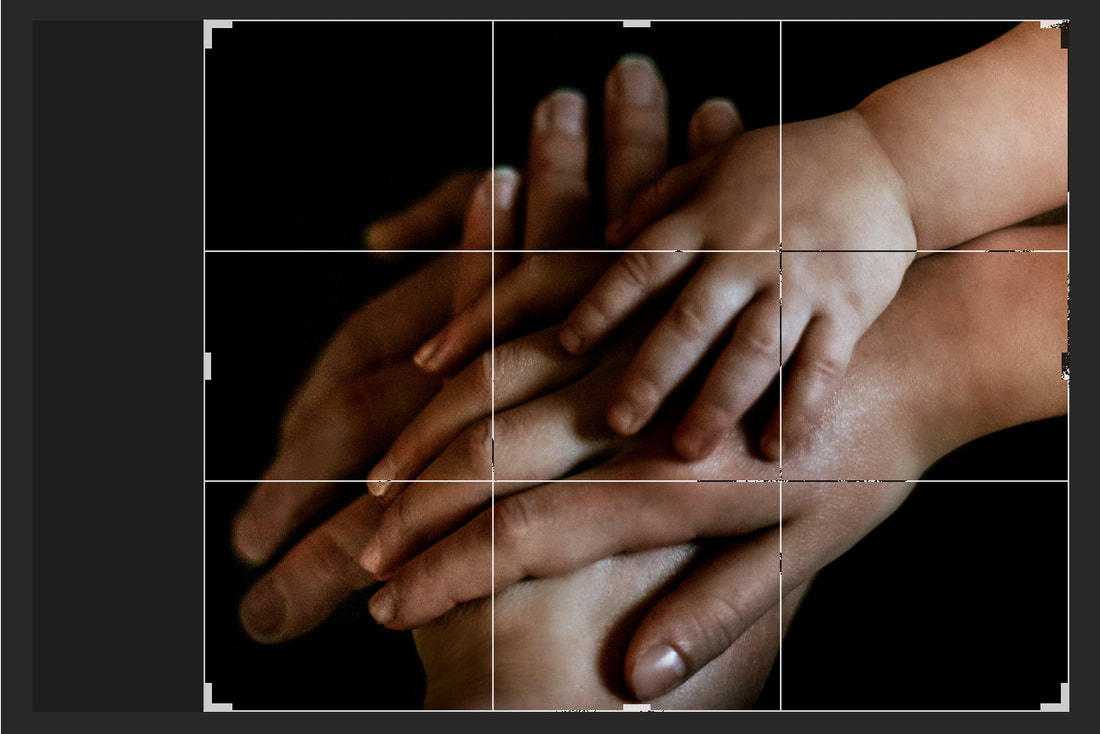 |
So that your final printed image would look something like this.
The same is true of other popular sizes like 5x7 and 11x14.
"But I don't want to lose any of the image" you say,
stomping your foot like a frustrated toddler.
Hey, I hear ya!
As an artist I crop things in my viewfinder a specific way,
while I'm shooting.
I want my prints to look the way I shot them for a reason.
So what do I do?
Well, there are a few options.
Either only print in the sizes that coincide
with the Aspect Ratio of your camera.
Most DSLRs are 3:2, the same as 35mm film was.
(Some may be different or may even allow you to choose.)
Or for images like the example pic above,
you could add more black background prior to cropping.
Making the overall image larger,
thus maintaining more when you do crop it.
I have even done this with wedding party images
in the woods by cloning more tree line into the image.
Of course, this is not always possible
depending on the background.
And it really only works on minimal images
with solid backdrops.
Another option if you are the photographer
is to shoot a little wider.
Just take a step back or switch lenses
in order to get more framing around your subject.
Doing this with the expressed purpose
of cropping it out later.
And lastly, you have the option of just accepting the loss.
If you decide to go with this option
I do suggest that you do the cropping yourself
before sending it off to the printer.
A lot of online printers already have an option for this
pop up now during checkout.
If they do not, however, it is a very easy fix in Photoshop,
or even a free online editor like PicMonkey.
I hope you have found this helpful.
Drop me a comment below if you'd like to see
more content like this.
And feel free to share this blog post
on your social media platforms.
>>> <<<
Drop me a comment below if you'd like to see
more content like this.
And feel free to share this blog post
on your social media platforms.
>>> <<<
Author :
Just Me<<
Archives :
September 2023
June 2023
October 2022
July 2022
May 2022
November 2021
October 2021
September 2021
July 2021
June 2021
February 2021
January 2021
December 2020
November 2020
October 2020
September 2020
August 2020
July 2020
June 2020
April 2020
March 2020
February 2020
December 2019
November 2019
October 2019
September 2019
August 2019
July 2019
June 2019
May 2019
April 2019
March 2019
February 2019
December 2018
November 2018
October 2018
September 2018
August 2018
July 2018
June 2018
May 2018
April 2018
January 2018
December 2017
October 2017
September 2017
August 2017
July 2017
May 2017
April 2017
February 2017
January 2017
December 2016
November 2016
October 2016
September 2016
August 2016
July 2016
June 2016
May 2016
April 2016
March 2016
February 2016
December 2015
October 2015
September 2015
Categories :
All
30 Minutes In The Life
B R A V E D
Children
ClickinWalk
Couples
COVID-19
Elopements
Families
In-Home Lifestyle
Maternity
Mini Sessions
Newborns
Personal
Photography Education
Portraits
Project 365/366
Seniors
The Gold Hope Project
Trash The Dress
Weddings
Year In Review
 RSS Feed