|
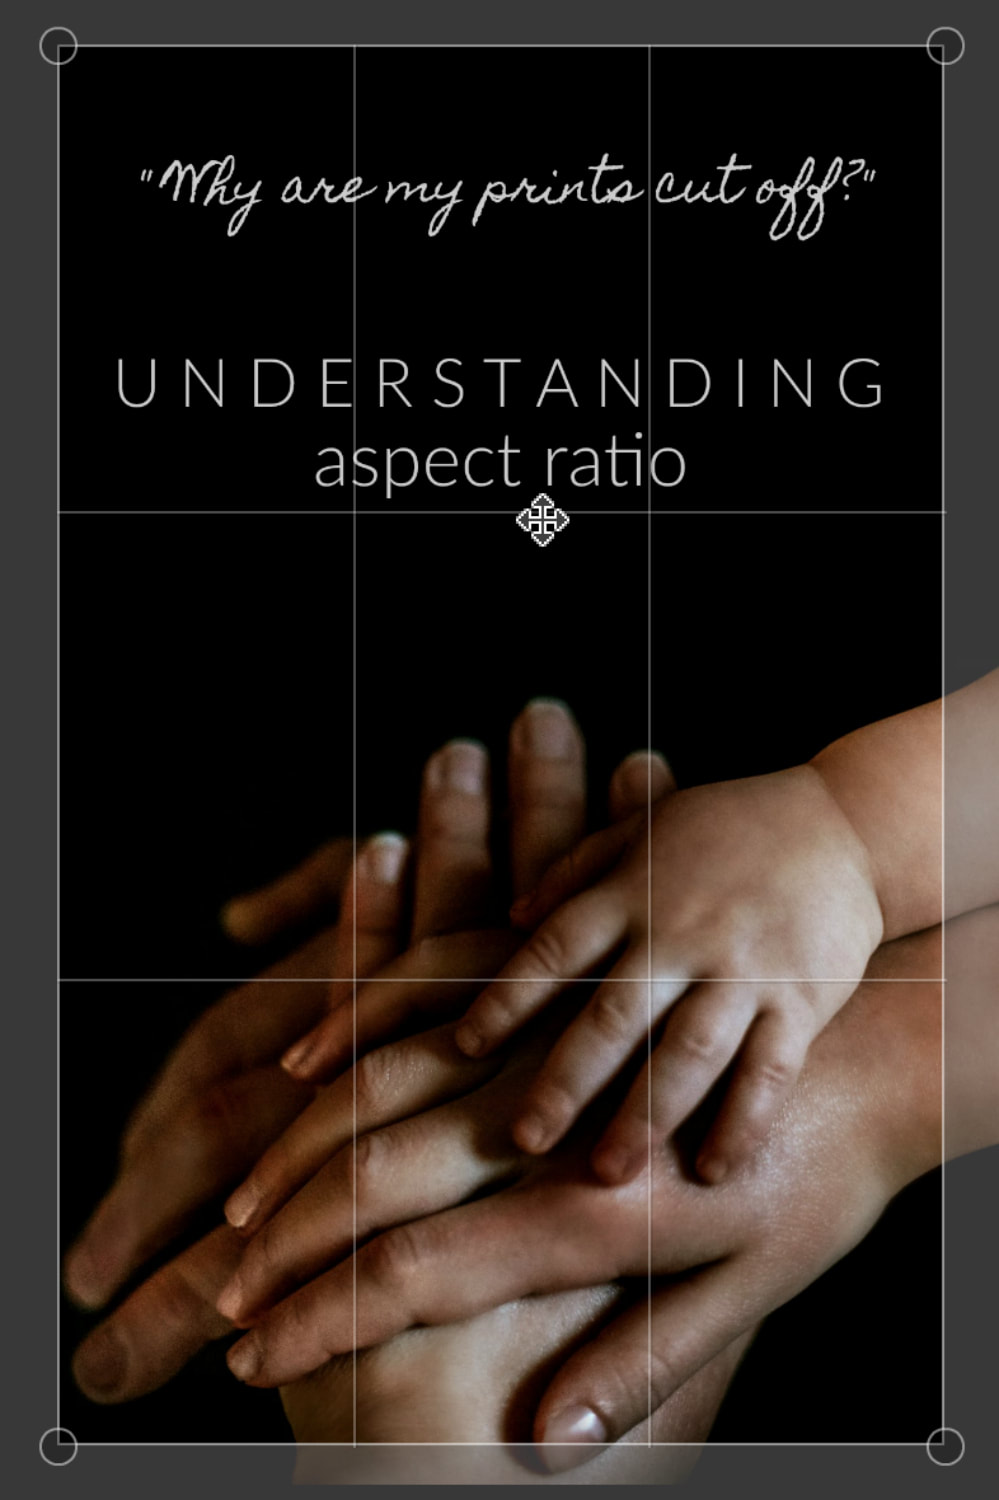
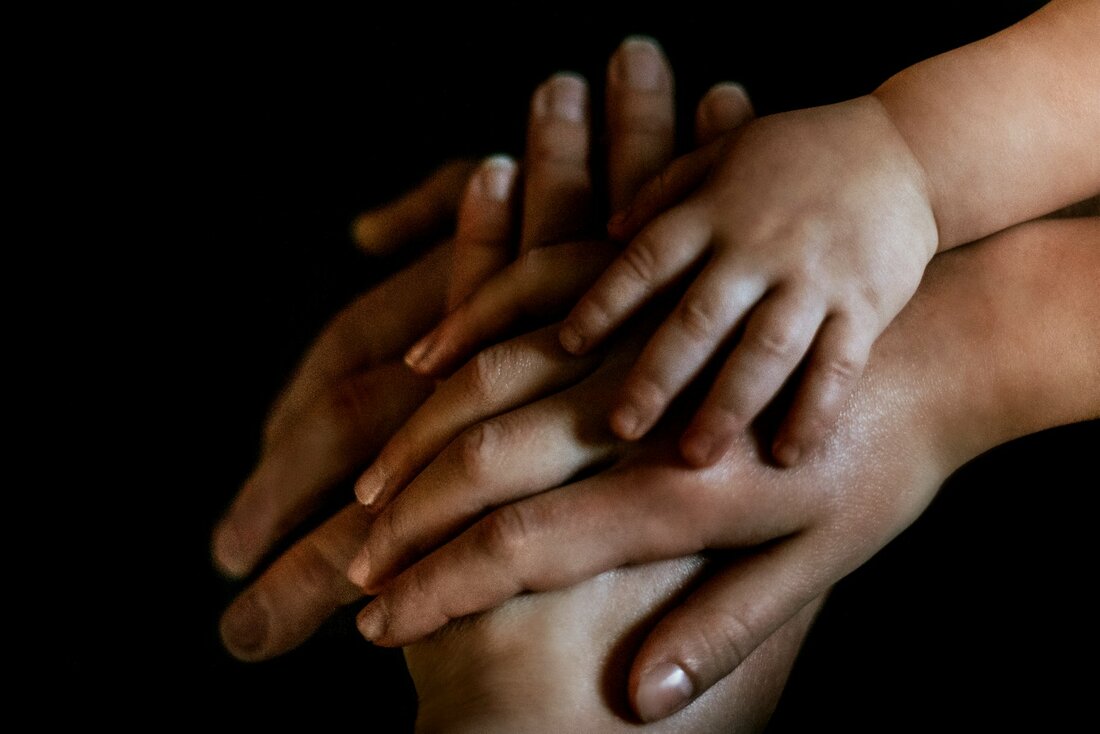
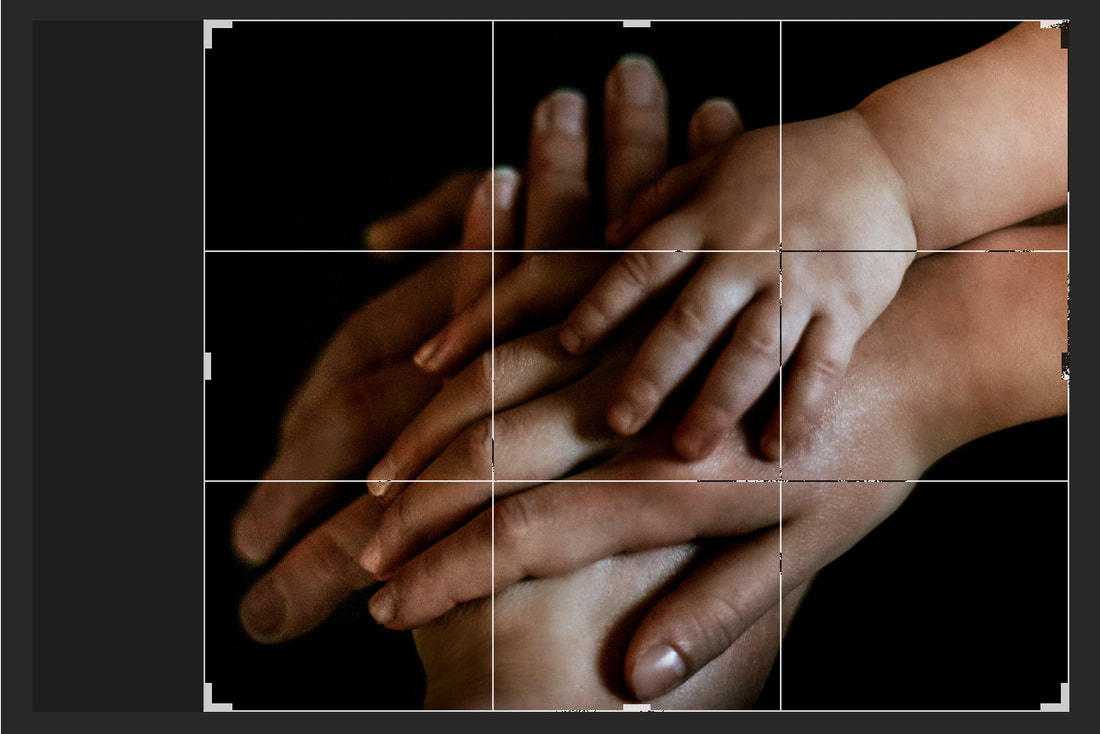
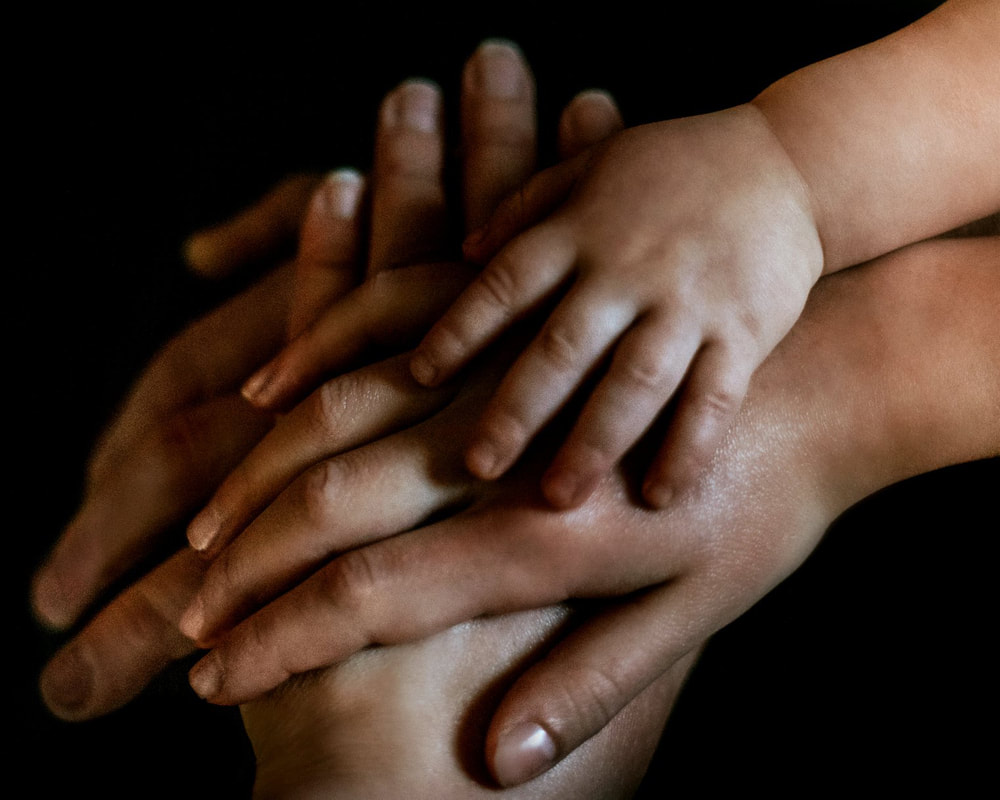
W H Y A R E M Y P R I N T S C U T O F F ? U N D E R S T A N D I N G A S P E C T R A T I O A frequent question I get from my clients, especially right after they receive their prints is, why is some of the image chopped off? Well, there's a simple reason and a few solutions to try and avoid it from happening to you. It's a common misconception that you can print any image to any size you want. The reason this is not always possible is due to something called (buckle up - I'm about to sound all smart and technical) Aspect Ratio. What is Aspect Ratio? While it might sound intimidating, it is a pretty easy concept. So on old 35mm film cameras the aspect ratio was 3:2. That meant any variable of 3:2 would print without loss. Ugh, here we go...dreaded math time! (I promise you, if I can understand this mumbo jumbo, anyone can.) So 3:2 is the same aspect ratio as 6:4. So a 4x6 print, which is a very popular size, would print without any issues. As would an 8x12, a 16x24 and a 20x30. 2 x 3 4 x 6 8 x 12 16 x 24 20 x 30 Do you see how all the numbers on the left are variables of 2 and all the numbers on the right are variables of 3. They are all the same aspect ratio. But another popular size in the print world is an 8x10. However, an 8x10 is a different ratio than 3:2. So you would need to lose 2" somewhere in order to fit into the aspect ratio the image was shot in. Below is an example of an original image and the crop to fit an 8x10 print. So that your final printed image would look something like this. The same is true of other popular sizes like 5x7 and 11x14. "But I don't want to lose any of the image" you say, stomping your foot like a frustrated toddler. Hey, I hear ya! As an artist I crop things in my viewfinder a specific way, while I'm shooting. I want my prints to look the way I shot them for a reason. So what do I do? Well, there are a few options. Either only print in the sizes that coincide with the Aspect Ratio of your camera. Most DSLRs are 3:2, the same as 35mm film was. (Some may be different or may even allow you to choose.) Or for images like the example pic above, you could add more black background prior to cropping. Making the overall image larger, thus maintaining more when you do crop it. I have even done this with wedding party images in the woods by cloning more tree line into the image. Of course, this is not always possible depending on the background. And it really only works on minimal images with solid backdrops. Another option if you are the photographer is to shoot a little wider. Just take a step back or switch lenses in order to get more framing around your subject. Doing this with the expressed purpose of cropping it out later. And lastly, you have the option of just accepting the loss. If you decide to go with this option I do suggest that you do the cropping yourself before sending it off to the printer. A lot of online printers already have an option for this pop up now during checkout. If they do not, however, it is a very easy fix in Photoshop, or even a free online editor like PicMonkey. I hope you have found this helpful.
Drop me a comment below if you'd like to see more content like this. And feel free to share this blog post on your social media platforms. >>> <<<
0 Comments
Leave a Reply. |
Author :Just Me<< Archives :
September 2023
Categories :
All
|


 RSS Feed